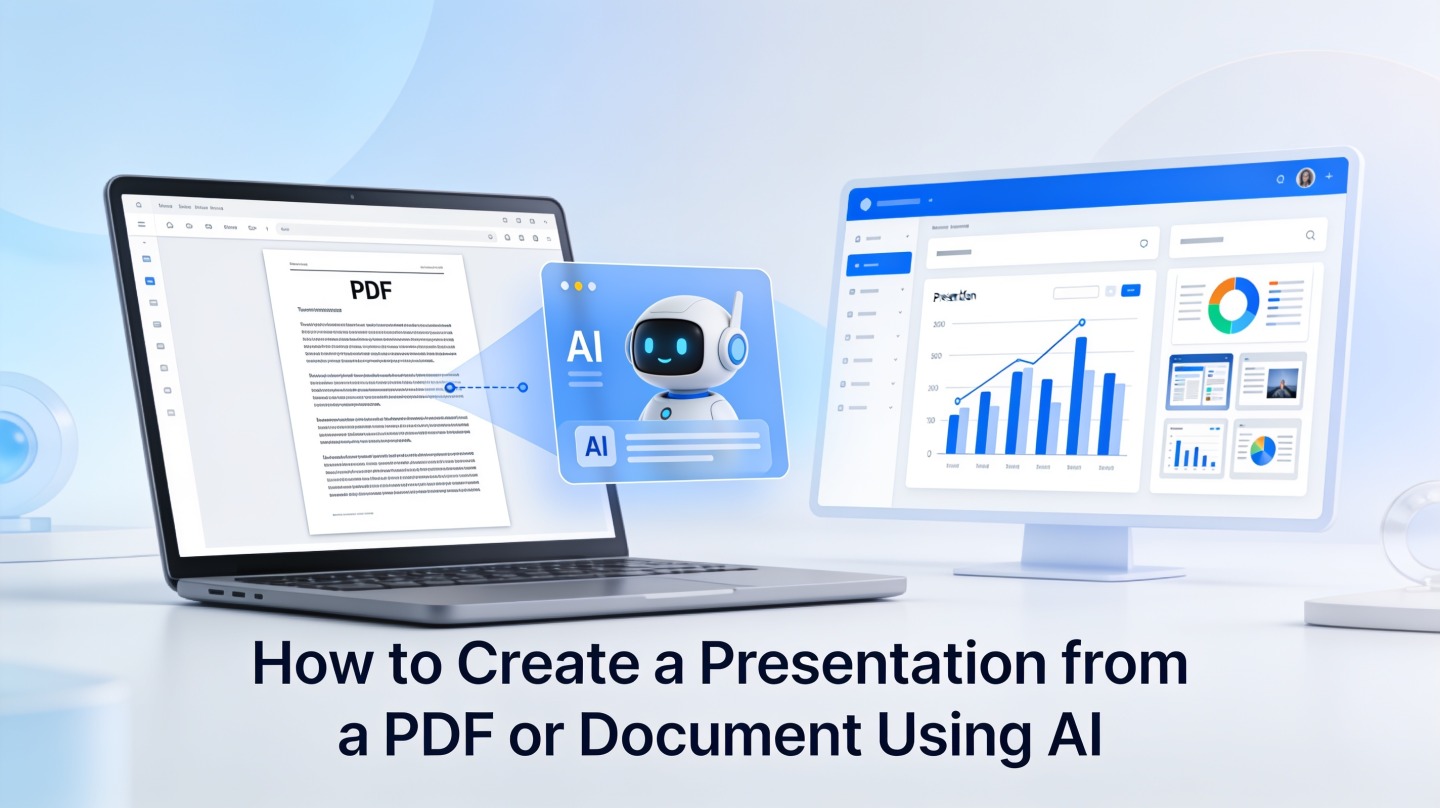
This walkthrough takes one small briefing from a blank page to an editable presentation draft. Follow the six steps in order: prepare a brief, open a supported input, write the prompt, review the outline, edit the slides, and test the export. Tool-selection advice belongs in the separate non-technical user buying guide.
Example used throughout: an internal customer-support onboarding briefing. It is an illustrative exercise, not a measured product test. Replace the example with approved instructions from your own team. Existing product screenshots illustrate parts of the workflow; account layouts and available controls can differ.
Step 1: prepare a short, approved source brief
Write down who will see the presentation, what they need to do afterward, and which information is approved. A beginner does not need a long prompt library; a clear input packet is more useful.
| Brief field | Illustrative input |
|---|---|
| Audience | New customer-support teammates. |
| Outcome | Know where to find the approved escalation process and who owns each handoff. |
| Source | The current onboarding document and approved escalation contact list. |
| Required sections | Purpose, tools, request triage, escalation, worked scenario, next steps. |
| Do not invent | Service promises, response targets, contact names, customer cases, or policy exceptions. |
Output of this step: one clean source brief, with confidential details removed and an identifiable source owner. If you do not have the underlying policy, leave that section as a question for the owner rather than guessing.
Step 2: open the presentation workflow and add the input
Open PopAi's presentation workflow. Use the available prompt/text route, or upload an approved supported document such as a PDF or Word file. Do not assume that every file type or feature is available on every plan.

Check that the correct file was selected and that the source text is readable. A scan, cropped table, or password-protected document may need preparation before it can serve as useful input. For this exercise, a short text brief is sufficient.
Output of this step: the intended source material is selected or pasted. Stop and fix extraction problems before asking the tool to write the story.
Step 3: give the AI a specific slide brief
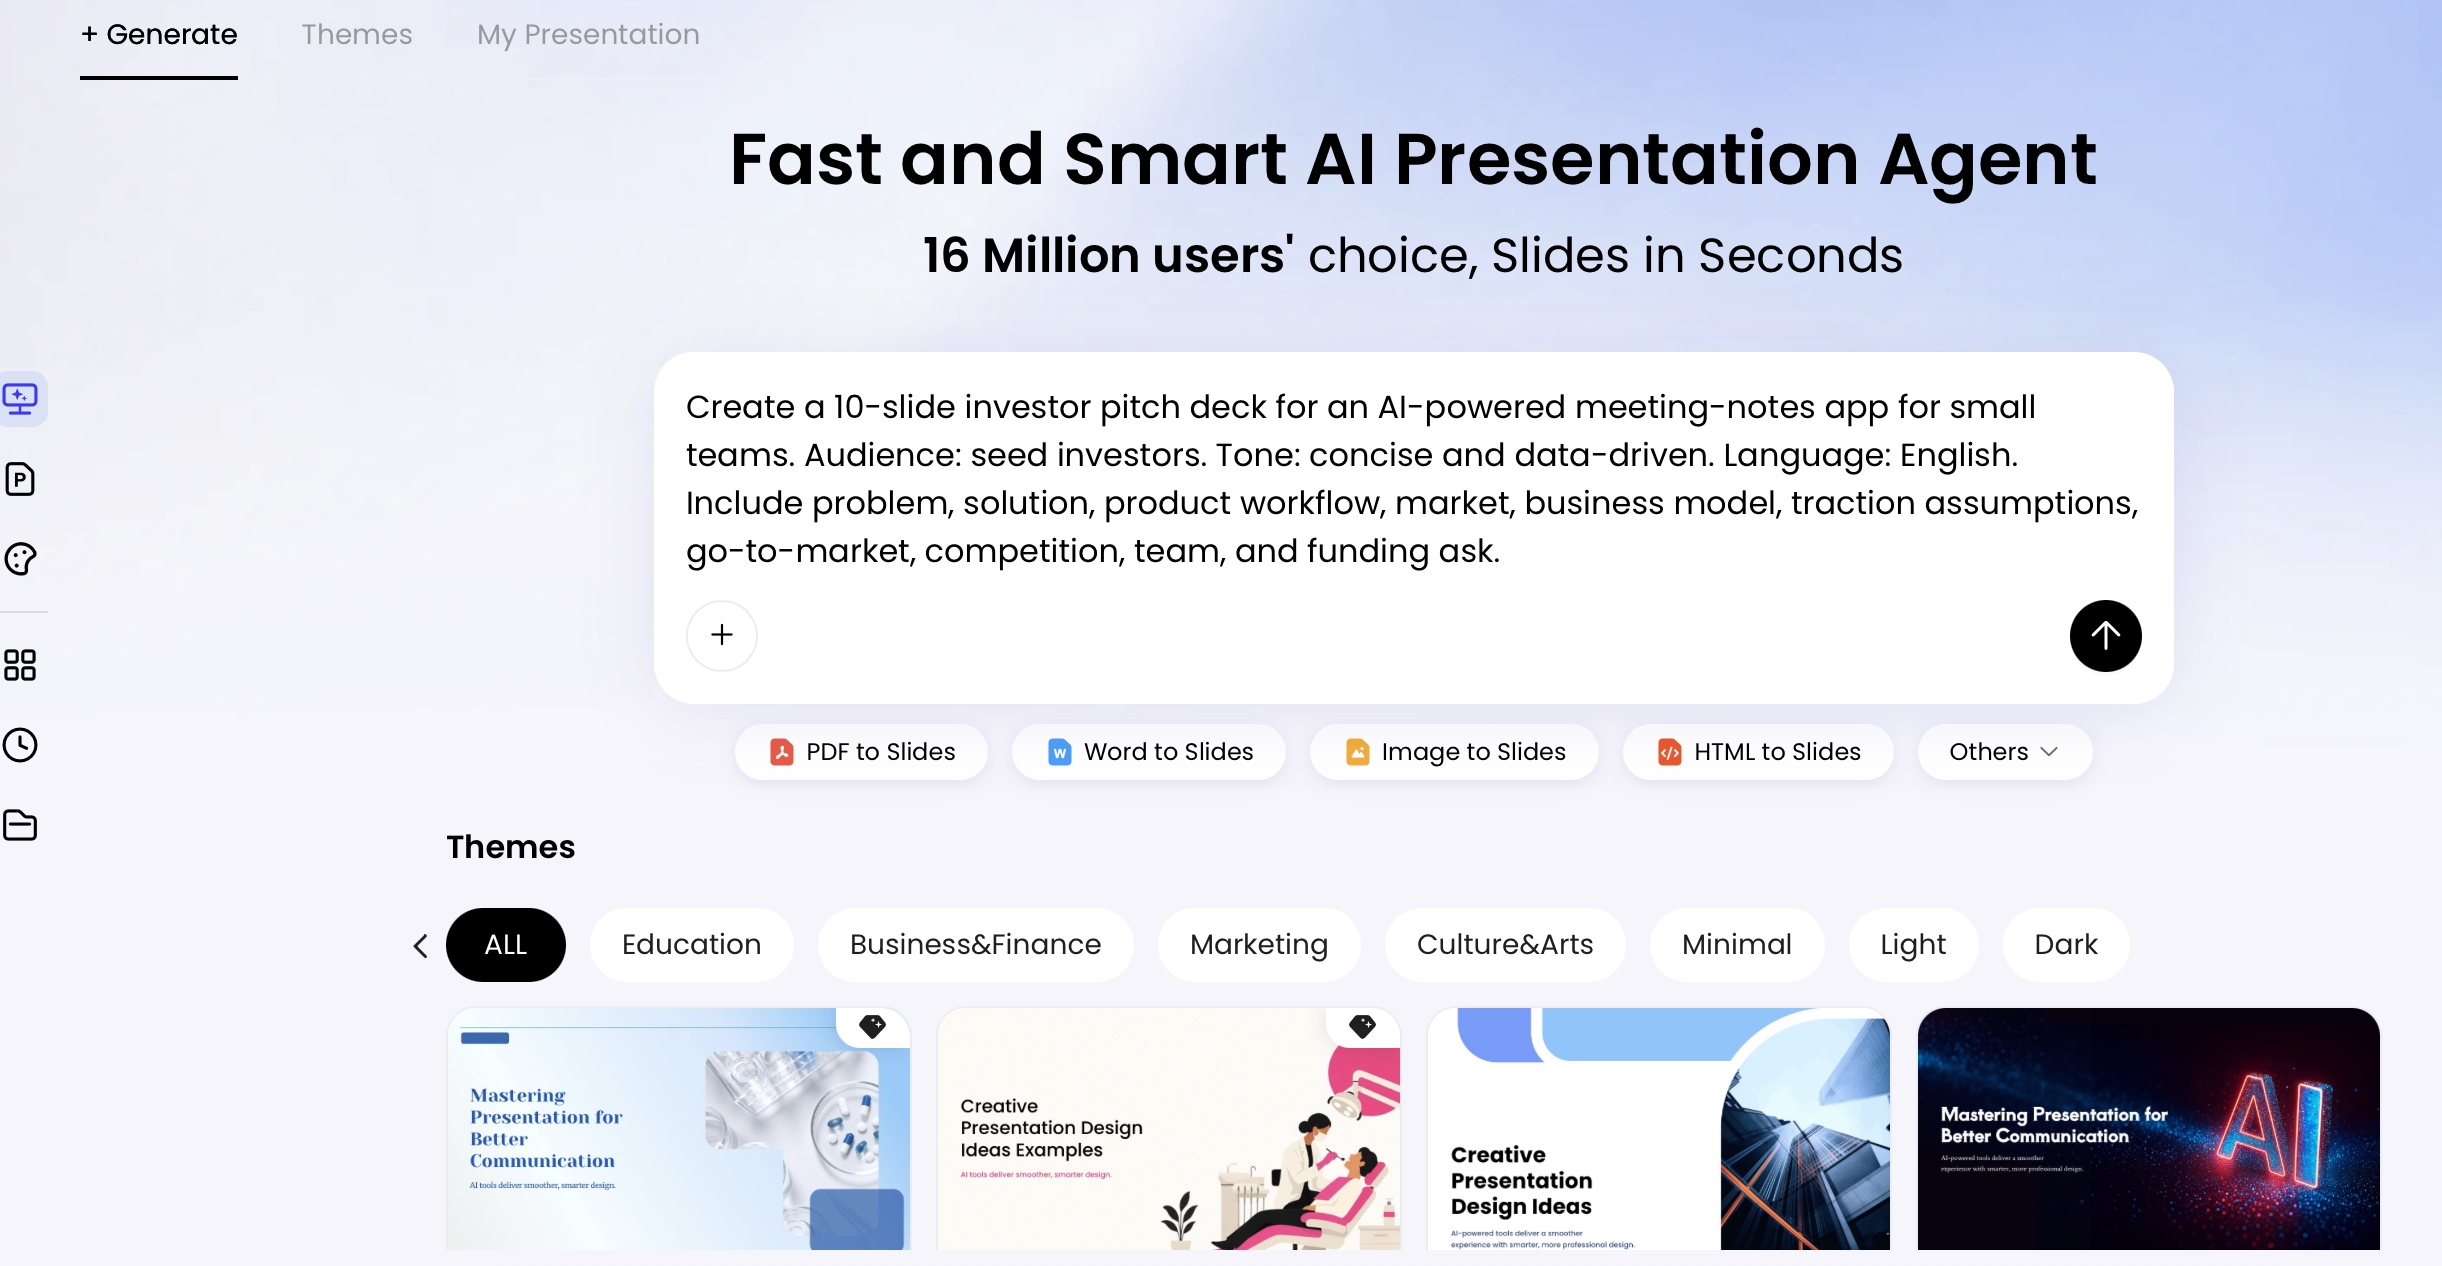
Create a six-slide onboarding presentation for new customer-support teammates. Use only the approved source brief below. Slides: purpose; tools and access; request triage; escalation handoffs; one illustrative scenario; next steps. Use short headings and plain English. Preserve all policy limits and source dates. Do not invent response targets, names, promises, or customer stories. Flag missing information for review. Source brief: [paste approved content].
The six-slide count is an editorial starting point for this exercise, not a universal rule. The prompt names the audience and sections, and tells the tool how to handle missing facts. Avoid adding a made-up success statistic just to make the deck sound more impressive.
Output of this step: a generation request grounded in your brief, with clear exclusions and a manageable scope.
Step 4: review the outline before committing to design
Read the outline as a sequence. Can a new teammate understand what to do, when to escalate, and where to find the approved source? Remove repeated introductions and move details that interrupt that sequence into notes or an appendix.
| Draft issue | Revision instruction |
|---|---|
| The first three slides repeat the same purpose | Keep one purpose slide and move directly to the workflow. |
| A draft turns an optional action into a requirement | Restore the exact policy condition and cite the source. |
| The escalation slide invents a response target | Remove the unsupported number and ask the owner for confirmation. |
| A list is too long to present | Group it by decision or handoff; retain detail in notes. |
Output of this step: an approved outline. It is cheaper to fix the structure here than to polish six slides with the wrong message.
Step 5: edit one slide at a time
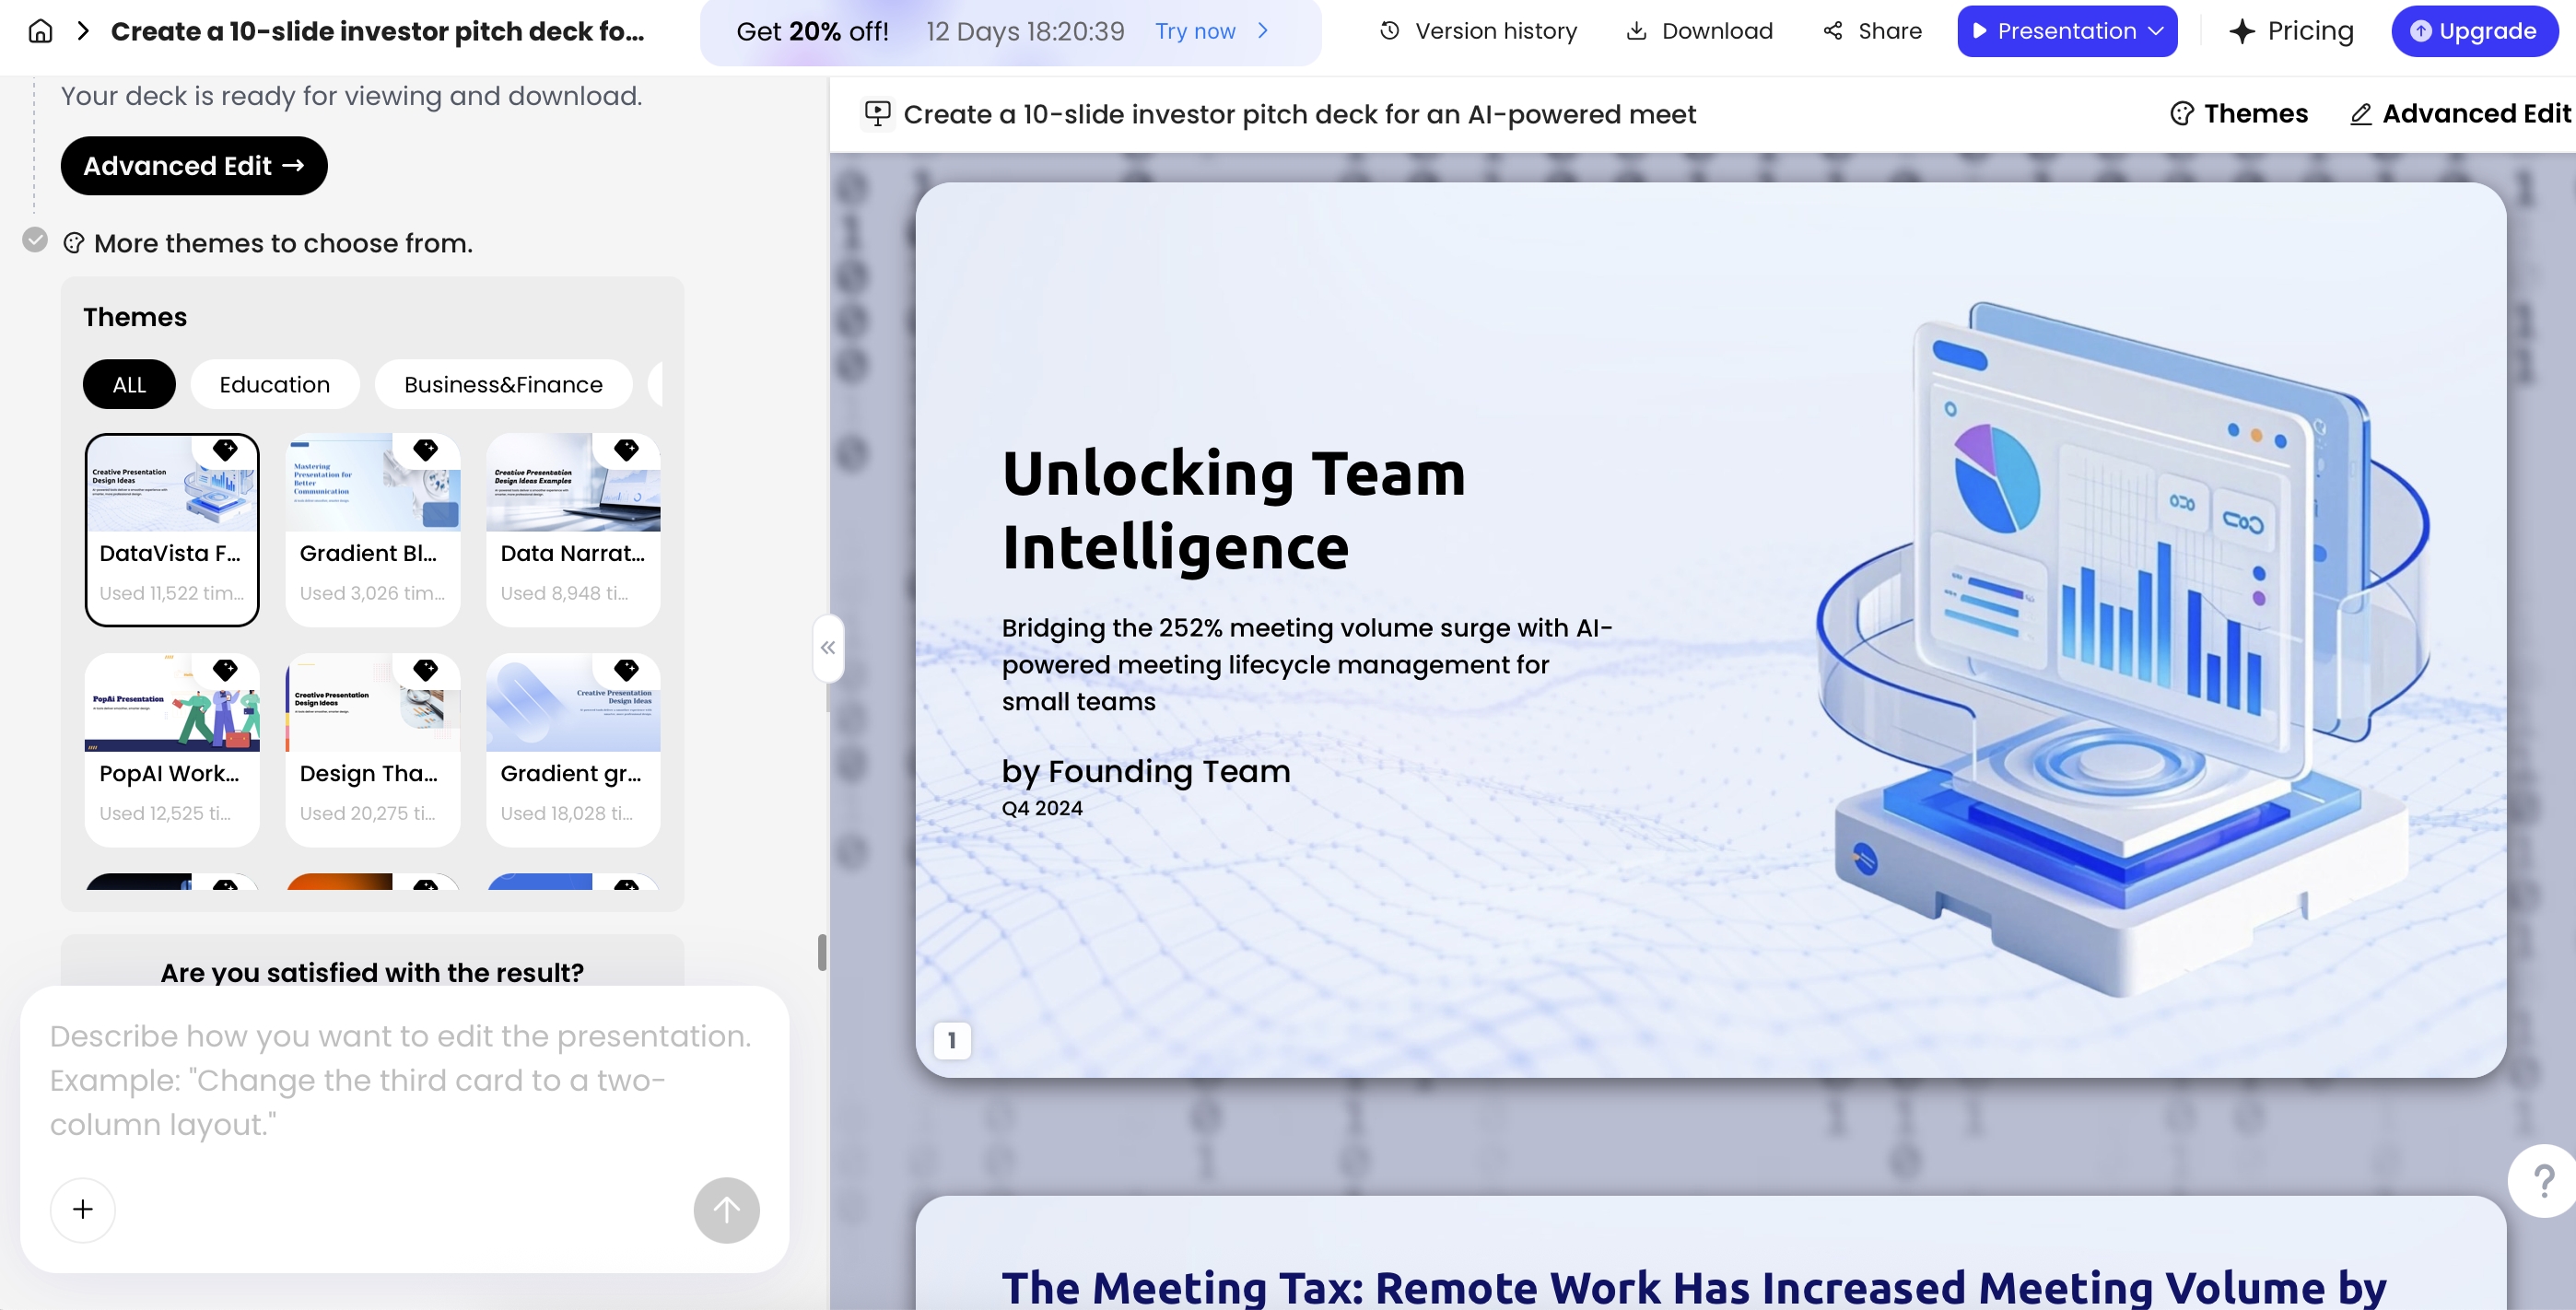
Apply a consistent style, then verify text and visuals. Existing screenshots show editing or layout examples; they are not evidence that every generated slide will need the same controls.
- Read each title and check that the content supports it.
- Replace generic examples with approved context, or label them clearly as illustrative.
- Check names, dates, instructions, links, and any numbers against the source.
- Adjust text and images without hiding a required caveat or cropping away important information.
- Add speaker notes that explain the slide rather than repeat it.
Output of this step: an editable draft ready for its owner's review. There is no fixed editing-time promise; a sensitive or complex brief can require much more work than a simple onboarding exercise.
Step 6: export, reopen, and rehearse
Choose a format supported by your account and recipient. PopAi documents PPTX/PDF exports and sharing; inspect current plan entitlements before relying on a particular export option.
- Open the exported file in the application that will actually be used.
- Check slide count, cropped content, special characters, source links, and any images.
- Test sharing permissions with the intended audience, not just the owner account.
- Rehearse the six-step story aloud and shorten confusing slides.
- Keep a verified viewing fallback and the approved source brief.
Output of this step: a tested delivery copy and a recoverable source package. Use the final AI presentation quality checklist for the final pass, and fact-checking guide when the deck contains evidence or consequential claims.