If you are preparing for a defense, you may be juggling a long thesis, department requirements, and limited time to build slides. AI can speed up a first draft, but it can also flatten your argument or introduce unsupported claims unless you guide and verify it.
This workflow takes you from approved source files to a checked, rehearsed deck: plan the argument, extract and review thesis facts, generate a draft, audit every slide, then rehearse and export. You should finish with a concise core presentation, source-traceable claims, and backup slides for likely questions—not a compressed copy of every chapter.
Before you start, gather your defense brief or rubric, the final thesis or relevant chapters, the required slide format, and a note of anything you are not permitted to upload. Keep earlier drafts separate so the tool does not mix superseded results with final findings.
1. Plan the thesis presentation around one argument
Build the deck around the claim your evidence supports, not around the order of your thesis chapters.
First, write one sentence that answers: What did the study establish, and why does it matter? Then map the evidence needed to defend that answer: the research gap, question, method, findings, interpretation, and contribution or limitation. Include a literature point only when it explains the gap or helps the committee understand a result. Check the department rubric and supervisor’s guidance before cutting any required section.
For a 15–20 minute defense, 12–18 core slides can be a planning estimate, not a quota. A short viva or proposal defense may need fewer; a multi-part dissertation or a required methods demonstration may need more. Estimate time by rehearsing the difficult slides, not by assuming every slide takes the same amount of time. Put detail that supports a likely question—such as a secondary analysis or instrument item—in backup slides.
A short-defense sequence that follows the evidence
- Title, topic, and one-sentence overview.
- Problem, research gap, and research question.
- Essential framework or prior work needed to understand the question.
- Methods: sample or materials, procedure, and analysis approach.
- Two to four key findings, each paired with evidence.
- Interpretation, limitations, contribution, and conclusion.
Planning example: Suppose a 15-minute defense has 12 core slides. That is an average of 75 seconds per slide, but the opening may take 30 seconds while a complex results slide may need two minutes. If your timing run overruns, cut a secondary finding or move detail to backup slides before shrinking the explanation of your central result.
Illustrative example: A hypothetical study asks whether weekly retrieval practice improves first-year biology quiz performance. Its central finding is a higher average score in the practice group, but the groups were not randomly assigned. A defensible slide sequence would move from the teaching problem to the study design, show the group comparison, then state that the result is an association in this sample—not proof that practice alone caused the difference.
For each slide, ask: “What does this let the committee understand or evaluate?” If the answer is unclear, combine it with another slide, move it to backup, or remove it.
2. Prepare source material and write a grounded prompt
Give the tool a clean, permitted source set and ask it to extract facts before asking it to design slides.
Prepare a source set you can check
- Use the final thesis or selected approved chapters. For a focused defense, relevant chapters plus the final abstract, conclusion, and results tables may be easier to review than a full dissertation.
- Add the defense rubric or required section list as a separate reference. Keep it distinct from research evidence so instructions are not mistaken for findings.
- Exclude duplicate drafts, tracked-change copies, and appendices that are not needed for the talk. If an appendix contains a result you plan to present, include that specific source and record its location.
- Check the tool’s current file options and your institution’s rules before uploading. Do not upload identifiable participant data, restricted datasets, or unpublished material unless the relevant permissions and service terms allow it.
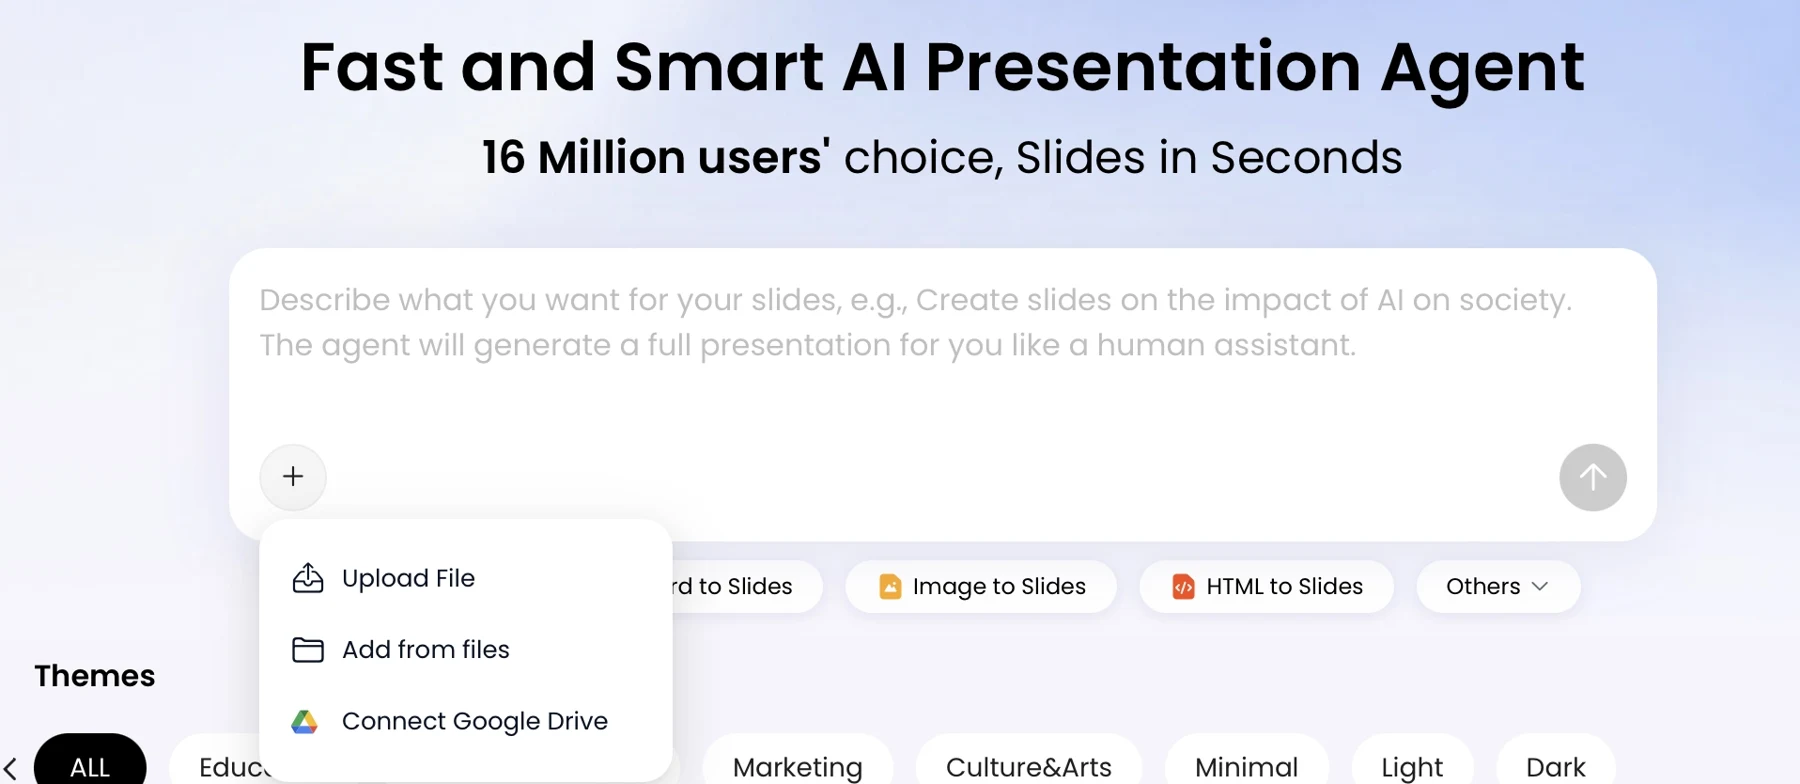
For a broader view of available workflows, compare the latest AI presentation makers. Regardless of tool, keep the source files and a separate list of approved facts available for checking.
Extract first; outline only after review
Ask for a fact extraction pass before slide generation. This lets you catch a missing qualifier or a result copied from an old version before it becomes a headline or chart.
Check each extracted item against the cited location. If the tool gives no page reference, search the thesis yourself and add one to your working notes. If two versions report different results, do not let the tool choose: identify the approved final analysis with your supervisor or project records, then remove the superseded version from the source set. Only then request an outline with a purpose and evidence source for each slide.
Mini-check: If the extraction says “scores increased significantly,” but the thesis reports only a descriptive difference and no significance test, replace the wording with the exact supported result before building the outline.
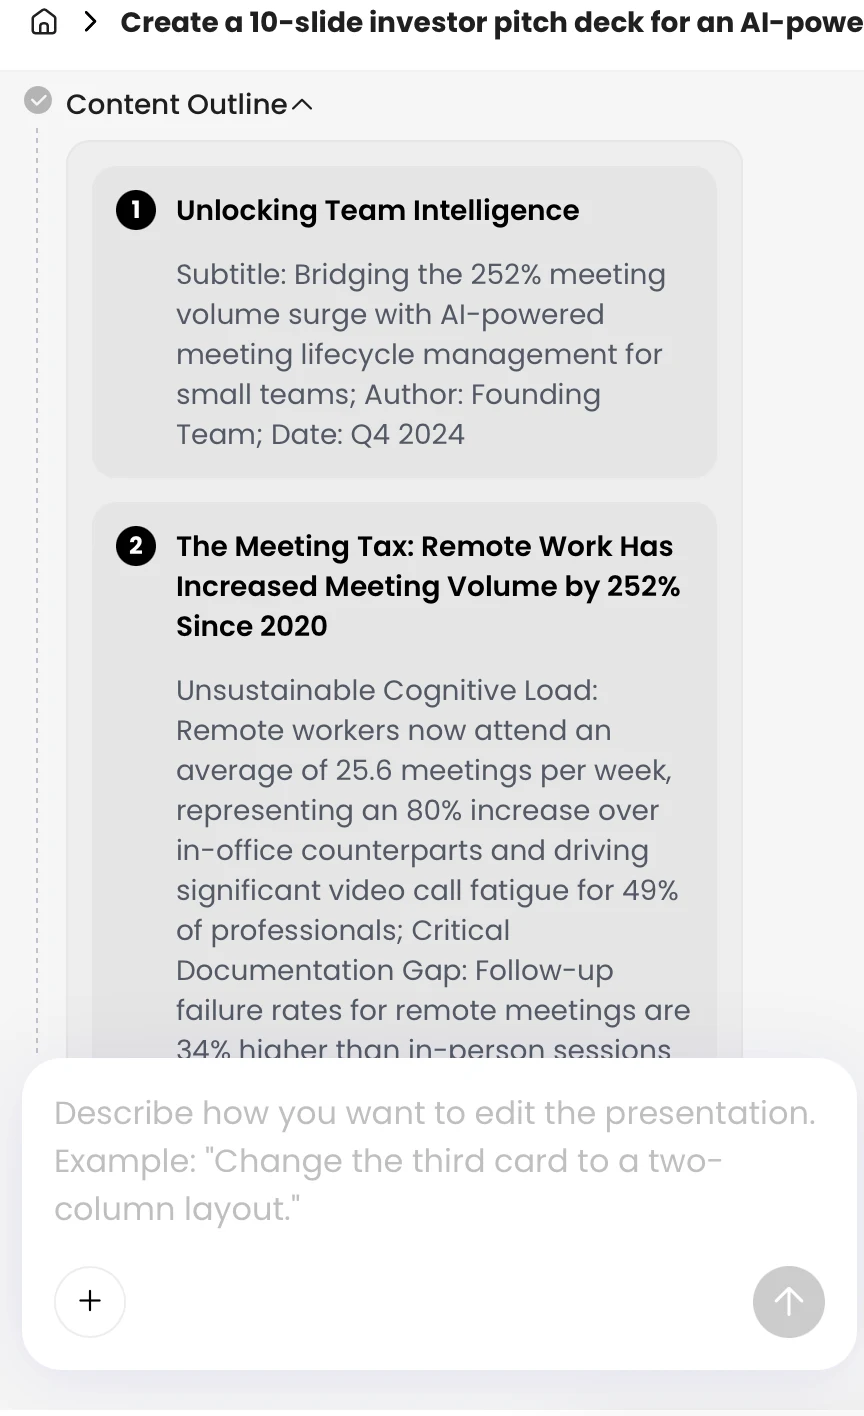
Outline prompt: “Create 12 core slides for a 15-minute master’s defense, following the attached department requirements. Use only the approved thesis files. For every slide, provide its purpose, proposed title, supporting evidence, and source page or figure. Preserve the study’s limitations; put secondary analyses in a separate backup-slide list.”
3. Generate a slide draft, then edit for meaning
Turn each approved outline item into one claim, its supporting evidence, and only the context needed to interpret it.
Ask the tool for concise titles and one main point per slide. A title such as “The practice group scored higher, but groups were not randomized” tells the audience more than “Results” and retains an important design caveat. Put the full explanation, transitions, and secondary detail in speaker notes; keep the slide itself readable from the back of the room.
Work one result from thesis to slide
Illustrative source-to-slide example: Imagine a thesis results table reports a mean quiz score of 78 for the weekly-practice group and 72 for the comparison group, with 24 and 26 students respectively. The thesis describes a descriptive difference and notes that students were not randomly assigned. A responsible slide could use the title “The practice group averaged six points higher in this sample,” a two-bar comparison labeled with group sizes, and a small note: “Non-randomized groups; difference is descriptive.” The speaker notes can explain the course context and point to the thesis table. Do not add “significant,” “caused,” or a confidence interval unless the approved analysis reports it.
This example shows the editing decision, not a claim about a real study. For your own slide, copy the value and qualifier from the final results table, cite its page or table number in your notes, and confirm the chart uses the same groups and units. If the visual cannot preserve the evidence accurately, use a simple table or state the result in text instead.
Choose visuals based on the comparison
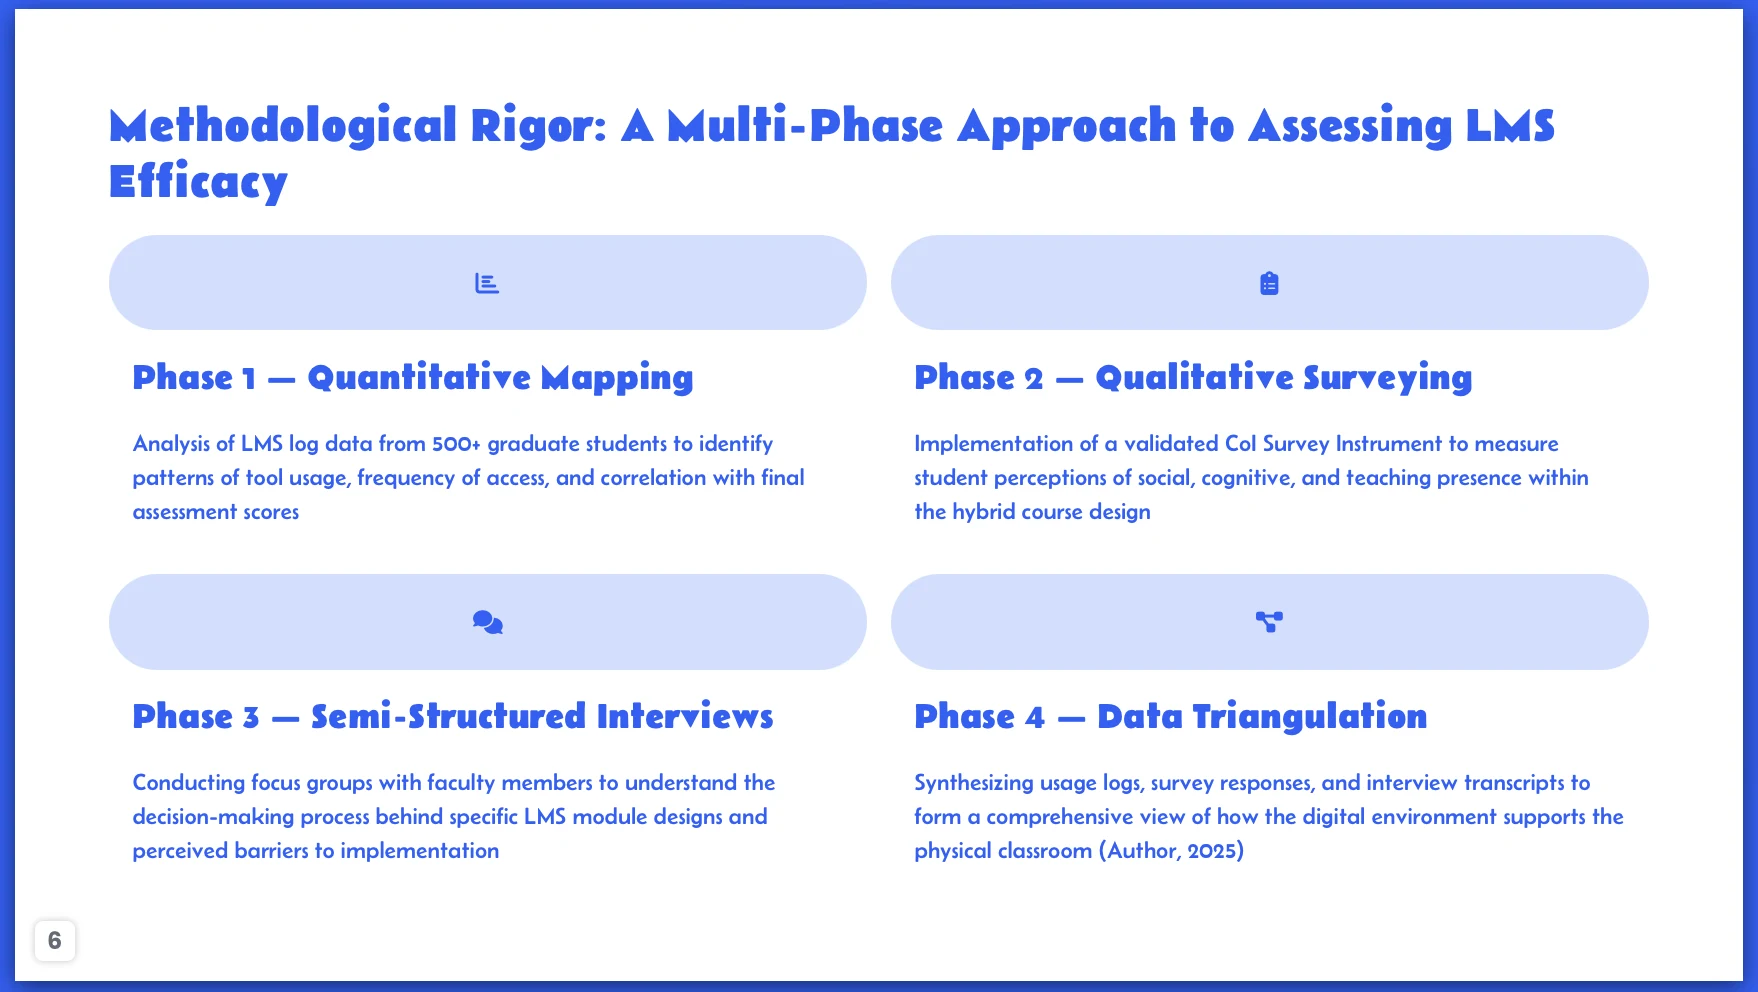
- Use a process diagram for research phases or experimental stages, and compare each label with the actual protocol so the diagram does not imply steps that were not performed.
- Choose a chart for the question it answers: a line chart may suit repeated measurements over time; a dot plot or bar chart may suit group comparisons. Show distributions or uncertainty when they matter to interpretation.
- Use a table when exact values or many categories matter more than a visual pattern. Remove columns the audience does not need to follow the point.
- For qualitative work, select a short, representative quotation and explain how it illustrates the theme. Preserve anonymization and avoid presenting one quotation as if it represents every participant.
- Keep labels, units, and essential caveats large enough to read in the room. If a complex figure needs extensive explanation, split it across slides or simplify it without changing what it shows.
Presentation tools can help with layout, wording, and visual drafts, but inspect every proposed revision against the approved outline. In PopAi AI Presentation, you can use the available editing workflow to revise a draft; treat any generated chart, diagram, or rewritten claim as a suggestion to review, not as validation of your analysis.
4. Verify claims, data, and citations against the thesis
Audit each slide against its source, separating factual accuracy from interpretation and visual accuracy.
Run a slide-by-slide evidence check
- Claim: Underline the headline and ask whether the source supports its strength and scope. Change causal language to associative language when the design does not establish causation.
- Statistic: Compare values with the final table or analysis output. Check units, denominators, sample sizes, missing cases, rounding, and whether uncertainty intervals or significance tests are reported.
- Quotation: Compare the wording with the transcript or source, confirm attribution and anonymization, and retain enough context that the excerpt does not reverse the speaker’s meaning.
- Chart: Check the underlying values, group labels, time points, scale, aggregation, and uncertainty markers. A truncated axis or a pooled average can change how a result appears.
- Citation: Verify author, year, title, and required format against the approved reference list. A formal-looking generated citation is not proof that the source exists or supports the statement.
Keep a small audit log in your working notes: slide number, claim, source location, and status (checked, revised, or removed). If you cannot trace a statement to the thesis or an approved source, do not present it as a finding. Find the source and verify it, rewrite it as a clearly labeled question or interpretation if appropriate, or remove it.
For every number on a slide, be able to answer: “What was measured, in whom or what, and which source supports this comparison?”
For example, if a table includes 50 enrolled participants but only 43 complete cases, the slide should not imply that all 50 contributed to the reported mean. State the analyzed sample size and note missing cases if they affect interpretation. Likewise, do not describe a difference as statistically significant unless the thesis reports the relevant test and result.
- Confirm percentages and totals against the source table, including their denominators.
- Check that a chart’s scale and aggregation do not exaggerate or hide a pattern.
- Retain necessary limitations and uncertainty when shortening the result.
- Check contrast, color meaning, font size, and labels; do not rely on color alone to distinguish groups.
- Use readable slide-level citations or a references slide as required by your department.
When a chart comes from a large dataset, build it from validated values and compare the finished visual with the source output. Editing a chart’s labels or appearance does not verify its data; check both the numbers and the way the audience will read them.
5. Rehearse, prepare backup slides, and export
Rehearsal reveals whether the argument fits the time limit and whether the deck works outside your own screen.
Use two timed rehearsals
- First run: Present aloud with a timer and mark the slide where you run over, hesitate, or lose the thread. Do not fix timing by speaking faster; shorten or move secondary material instead.
- Second run: Practice transitions and likely committee questions. For each key result, rehearse a brief answer that names the evidence, its limitation, and what it does not establish.
- Backup check: Place supporting analyses, additional tables, instrument details, robustness checks, or method explanations after the conclusion. Practice locating them quickly without interrupting the core story.
Export both the editable presentation file and a PDF fallback. Open the exported files on the device or software you expect to use, and check fonts, aspect ratio, line breaks, citations, chart labels, embedded media, and speaker notes. If possible, test the deck on the actual room display or a projector: text that looks comfortable on a laptop may be hard to read at a distance.
Keep a local copy of the deck, a second copy in an approved backup location, and any media files the presentation depends on. Confirm that videos play without relying on an internet connection, and know how to continue if animation, audio, or a font fails. Check the tool’s current export options before finalizing your workflow; exported layouts can differ between applications.
Final defense check: Does the opening state the research question? Is each result traceable to a source? Are chart labels and citations readable from the room? Have you tested the exported file, prepared a PDF fallback, and rehearsed within the allotted time?
6. Use AI responsibly and follow your institution’s rules
Check permissions before using AI with thesis material, and keep a record of assistance where your institution requires one.
Use this decision order: check your university policy, department or graduate-school rules, supervisor guidance, and any research-data agreement or participant consent terms. If those sources conflict or are unclear, ask the appropriate office before uploading or presenting AI-assisted material. Review the service’s current data-retention and processing terms as well as your institution’s rules; permission to use AI for slide design does not automatically permit uploading research data.
Distinguish presentation assistance from research work. Organizing an outline or suggesting a layout is different from generating analysis, interpreting results, translating participant quotations, or paraphrasing source material in ways that may change meaning. Do not submit identifiable participant information, restricted datasets, or unpublished findings to a tool unless the relevant terms and approvals permit it.
If disclosure is required, record the tool and date, what material it assisted with, and whether it drafted wording, reorganized content, translated text, or suggested visuals. Follow your institution’s required format rather than assuming one disclosure statement fits every program. You should be able to explain and defend every research decision and final claim yourself.
Use AI to reduce production work, not to transfer responsibility for the scholarship. The final deck should reflect your approved evidence, your field’s standards, and the requirements of your own defense.