Designers, developers, consultants, and job seekers often have plenty of work to show but struggle to turn it into a focused story. AI can help shape a first draft; the important work is supplying accurate evidence, clarifying your contribution, and checking every slide before sharing.
This guide is for people who have at least one or two completed projects and want to turn real materials—notes, approved visuals, results, or an existing portfolio—into a presentation. Allow roughly 2–4 hours for a short, three-project deck if your source material is organized; research, approvals, or complex visuals can take longer. The workflow is: define the audience, choose distinct projects, prepare source notes, generate and correct an outline, build the slides, then test the exported file. A typical live case study might use four slides: context and role, challenge, key decision, and evidence of the outcome. AI-generated text still needs factual, privacy, and layout checks.
How to Make a Portfolio Presentation with AI: Define the Purpose
Start with the decision you want the audience to make. A hiring manager needs to see how you think and what you personally delivered. A prospective client wants evidence that you understand a relevant problem and can work toward a useful outcome. A self-guided portfolio PDF needs more explanation than a live presentation because the reader cannot ask you to fill in gaps.
Write a one-sentence brief before opening a slide tool: “I’m presenting to [audience] to help them [decision], and I have [time or format].” Add the preferred tone and any required sections. For example, a 10-minute interview brief might be: “I’m presenting to a product design hiring panel to show how I use research and testing to improve onboarding; I have 10 minutes and will leave time for questions.” That brief naturally leads to an introduction, two focused case studies, and a closing slide—not a catalogue of every project.
- Live interview: prioritize relevant work and your decisions; keep enough time for questions. Rehearse to the allotted time rather than filling every minute with slides.
- Client pitch: lead with a problem similar to the client’s and show how you collaborated, handled constraints, and delivered.
- Application attachment: make the opening and project captions understandable without narration; follow any file or page limits.
- Self-guided PDF: add concise context, clear section headings, and links that work without a presenter.
Choose project count based on time and depth, not a universal benchmark. For a 10-minute live talk, two well-explained cases may be stronger than five rushed ones; a longer, self-guided portfolio can include more projects if each adds distinct evidence. If you are comparing AI presentation makers, test whether you can edit the outline and slides, inspect the output in your delivery format, and confirm the tool’s current file and privacy terms—not just whether the first draft looks polished.
Select Projects and Gather Credible Evidence
Choose case studies that prove different skills your audience needs to assess. A portfolio is more persuasive when each project adds new evidence—such as craft, problem solving, collaboration, or technical judgment—rather than repeating the same strength.
Build each case study from evidence, not memory
Collect the same core facts for each project before asking AI to draft slides:
- Context: who the work served, the situation, and the objective.
- Your role: what you owned, who else contributed, and any constraints.
- Challenge and method: the problem, options considered, and steps taken.
- Outcome: a verified result, documented feedback, a shipped artifact, or a decision that changed the work.
- Evidence: approved screenshots, sketches, prototypes, charts, or before-and-after examples.
For a concrete example, imagine a product designer’s notes say: “Onboarding redesign, 6-week project; I owned the flow and prototype; partnered with one researcher and two engineers; tested with eight users; three users missed the verification step in the first test; revised the prompt and retested; all eight completed it in the second round.” A four-slide story could show the user problem and role, the observed friction, the decision to clarify the prompt, and the test evidence. The safe claim is “In the second test, all eight participants completed the step,” not “The redesign increased activation” unless production data supports that broader result. This is an illustrative example, not a benchmark.
Keep project outcomes, team outcomes, and your contribution distinct. If a team shipped a feature, write “I designed the onboarding flow with engineering and research; the team shipped it in May,” rather than implying you delivered the entire product alone. When projects overlap, keep the one with the clearest evidence and use the other only if it demonstrates a different capability.
Numbers are useful only when their source and scope are clear. If a metric cannot be shared, use an approved percentage, non-sensitive measure, documented feedback, a shipped artifact, or a before-and-after comparison. Include the measurement period and sample size where relevant. If there is no numeric outcome, describe the verified change in the work or the decision it enabled; do not manufacture impact.
Portfolio rule: if a number cannot be traced to a reliable source, leave it out or qualify it. “Eight of eight participants completed the revised task in a small usability test” is more informative than “conversion improved dramatically”—and does not imply a production result.
Prepare Source Material and Prompt the AI
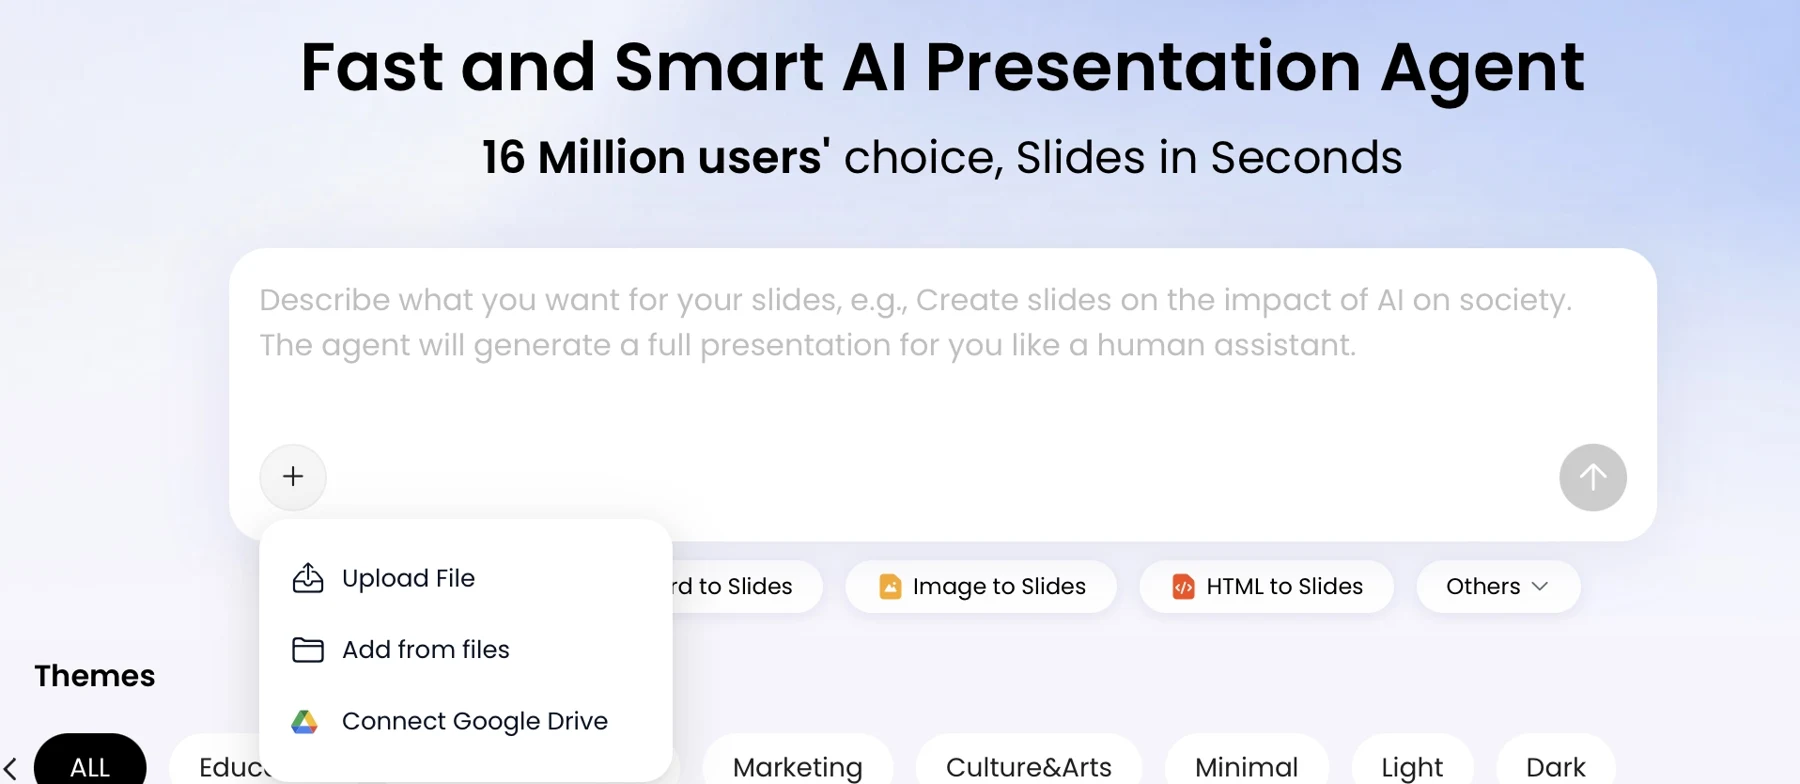
Give the tool organized facts, not a vague request to “make me look impressive.” Keep one source note per project and label the date, your role, collaborators, metrics and their sources, and which visuals are approved. Separate confirmed facts from ideas that need checking. Before uploading anything, confirm you have the right to use it and review the tool’s current privacy and retention terms. File support, integrations, and data practices can change; verify them in the product’s current help or settings rather than assuming a format or connector is supported.
A useful prompt specifies the audience, objective, length, project order, and claims the system must preserve. For example:
“Create a 10-slide portfolio presentation for a senior product designer interview using the three supplied case-study notes. Lead with the project most relevant to onboarding. For each case, cover context, my role, the challenge, one key decision, outcome, and evidence. Do not infer results beyond the notes. If a metric, date, or attribution is unclear, mark it [VERIFY] instead of filling the gap. Leave space for approved product screenshots and use concise slide titles.”
Use the draft as a proposal, not a source of truth. Compare every name, date, metric, and role against your notes. If the AI merges collaborators or turns a test result into a business outcome, correct the source note and prompt again: “Revise slide 6: the eight-person result refers only to the second usability test, not production conversion. State the sample size and remove any claim about activation.” If a detail is missing, add it from a reliable source or remove the claim.
For example, the onboarding notes above could produce an outline of context and role, test finding, design decision, and retest evidence. If the first draft instead says “activation rose,” mark that claim for review and replace it with the measured usability-test result. This source-to-outline check is more valuable than polishing a template around an unsupported sentence.
If you have existing project notes or a previous portfolio deck, use them as source material rather than rewriting everything first. Upload quality and extraction can vary, so compare the generated outline with the originals; tables, small text, and images may not transfer as intended.
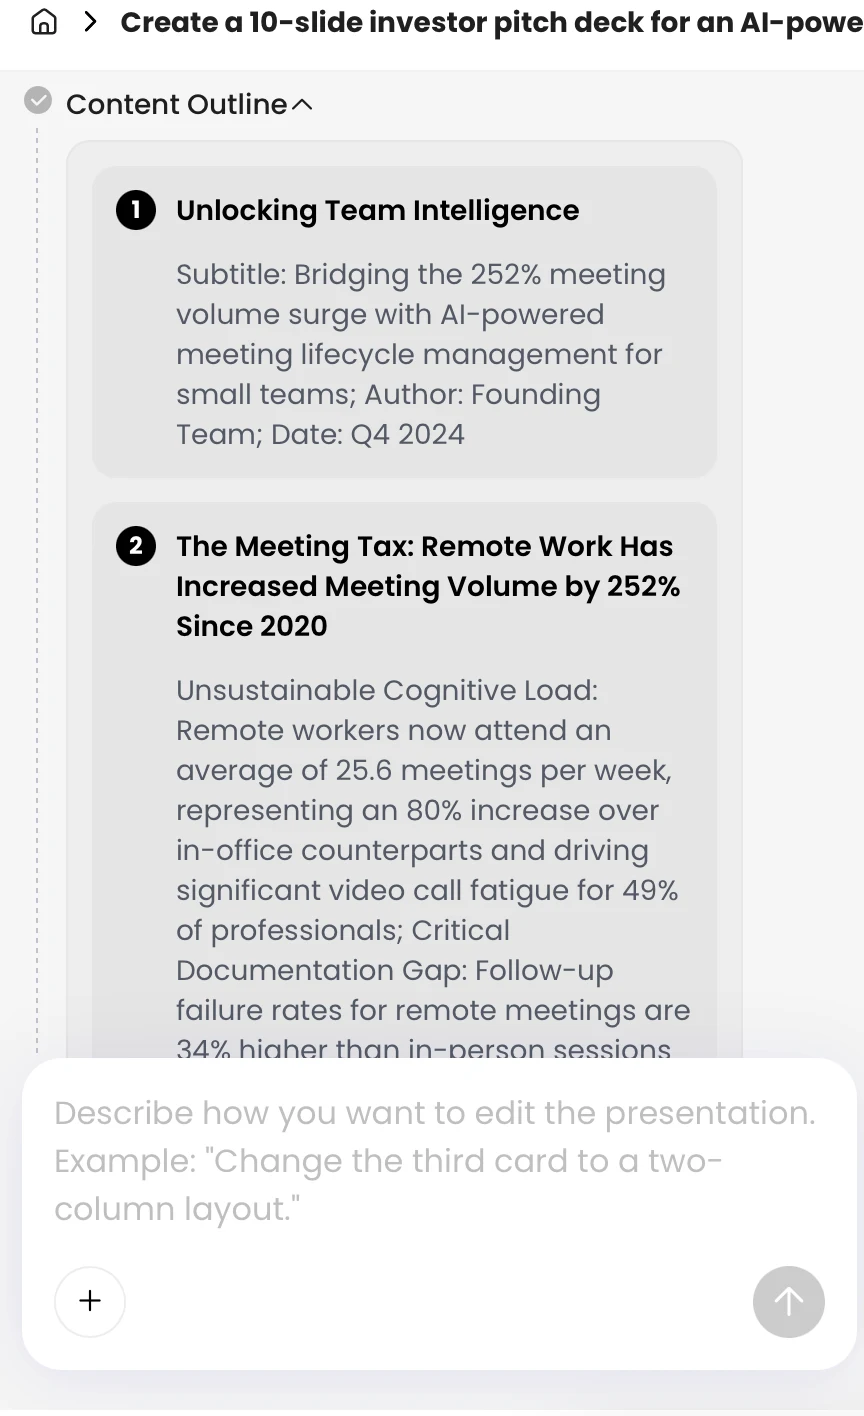
Review the Outline Before Polishing Slides
Fix the story at outline stage, when moving a project is easier than redesigning finished pages. Review the content plan before spending time on theme and layout.
- Check the first impression. Can the audience tell who you are, what work you do, and why these examples fit?
- Test the sequence. Lead with the most relevant case, then use the next one to add a different strength—not repeat the same proof.
- Trace the logic. For each case, can a reader follow the problem to your decision and then to evidence?
- Cut or combine. Remove a slide unless it adds a distinct capability, decision, or piece of evidence.
- Confirm the ending. Finish with a summary, next step, or invitation to discuss the work.
Diagnose a weak sequence before designing it
For a 10-minute interview, a workable starting outline is: introduction and fit (1 slide), case study one (3–4 slides), case study two (3–4 slides), and close (1 slide). If the outline instead gives three slides to biography and one to each project, move the project evidence forward. Missing evidence is different from missing explanation: if the outcome is absent from your source notes, do not ask AI to invent it; find a record or state that no measured result is available. If the evidence exists but the slide does not connect it to your decision, rewrite the transition.
For a deck read without you, add short captions and enough context to explain each artifact. For a live talk, keep slide text lean and use your narration for detail. The same outline should not be treated as equally suitable for both formats.
Refine Visuals, Claims, and Project Ownership
Use AI for structure and layout; keep authorship, interpretation, and final design decisions with you. Product interfaces and editing options vary, so confirm current capabilities in the tool you use. Whatever the tool, review the work at presentation size and replace generic decoration with artifacts that substantiate your case.
Give each slide one visual job
Use a clear title that states the point, then make the relevant artifact large enough to inspect. A crowded slide with six tiny interface screenshots and a paragraph of process text is hard to evaluate; select the two screens that show the decision, add a short caption to each, and move supporting detail to speaker notes or another slide. Check that body text is readable on a laptop, images are sharp at full-screen size, and charts have labeled axes, units, and a clear source.
Verify claims and describe ownership precisely
For every result, keep a private reference to its source—such as a report, test notes, or approved client feedback. Label estimates and small-sample findings accurately. Use phrases such as “I led,” “I designed with,” and “the team shipped” to separate your work from the team’s result. A fast quality test: can a reviewer identify the challenge, your contribution, and the supporting evidence at a glance? If not, revise the title, caption, or layout before adding more text.
- Verify every metric against its source; remove or qualify figures that the source does not support.
- Get approval for client logos, testimonials, screenshots, and other identifying material.
- Use AI-generated visuals for illustration only when appropriate; do not present them as screenshots or proof of work you completed.
- Check image licenses, contrast, readable type, and that meaning is not conveyed by color alone.
Create a Targeted Version and Prepare to Present
Make a focused copy for each important opportunity instead of sending one overloaded deck to everyone. Keep a master deck, then duplicate it with a date and opportunity in the filename—for example, “Portfolio_ProductDesigner_2026-10-27.” Record changes in a short note, such as projects reordered or opening tailored. Recheck facts after edits so a shortened caption does not change the meaning of a result.
Rehearse for the format
For each case, practise a concise sequence: situation, your contribution, one important decision, and outcome. Time one full run aloud; if a 10-minute slot takes 13 minutes, cut a project or detail rather than speaking faster. For a self-guided deck, add enough captions and context that the sequence makes sense without narration.
Export and check the delivered file
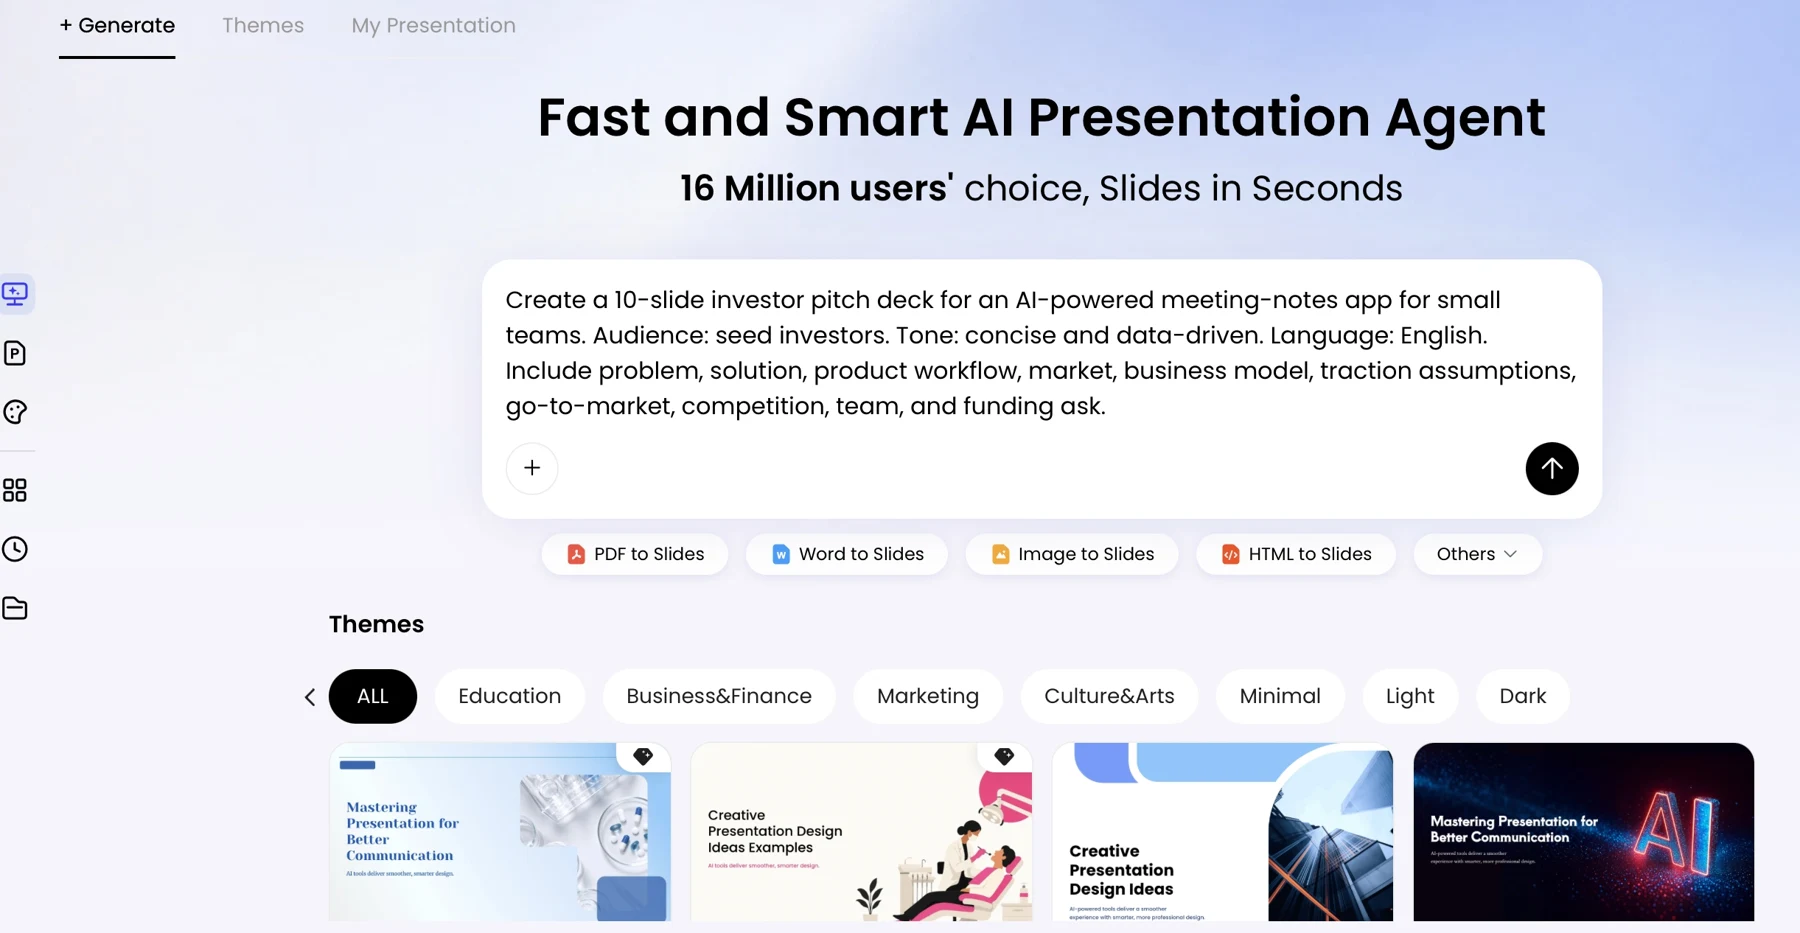
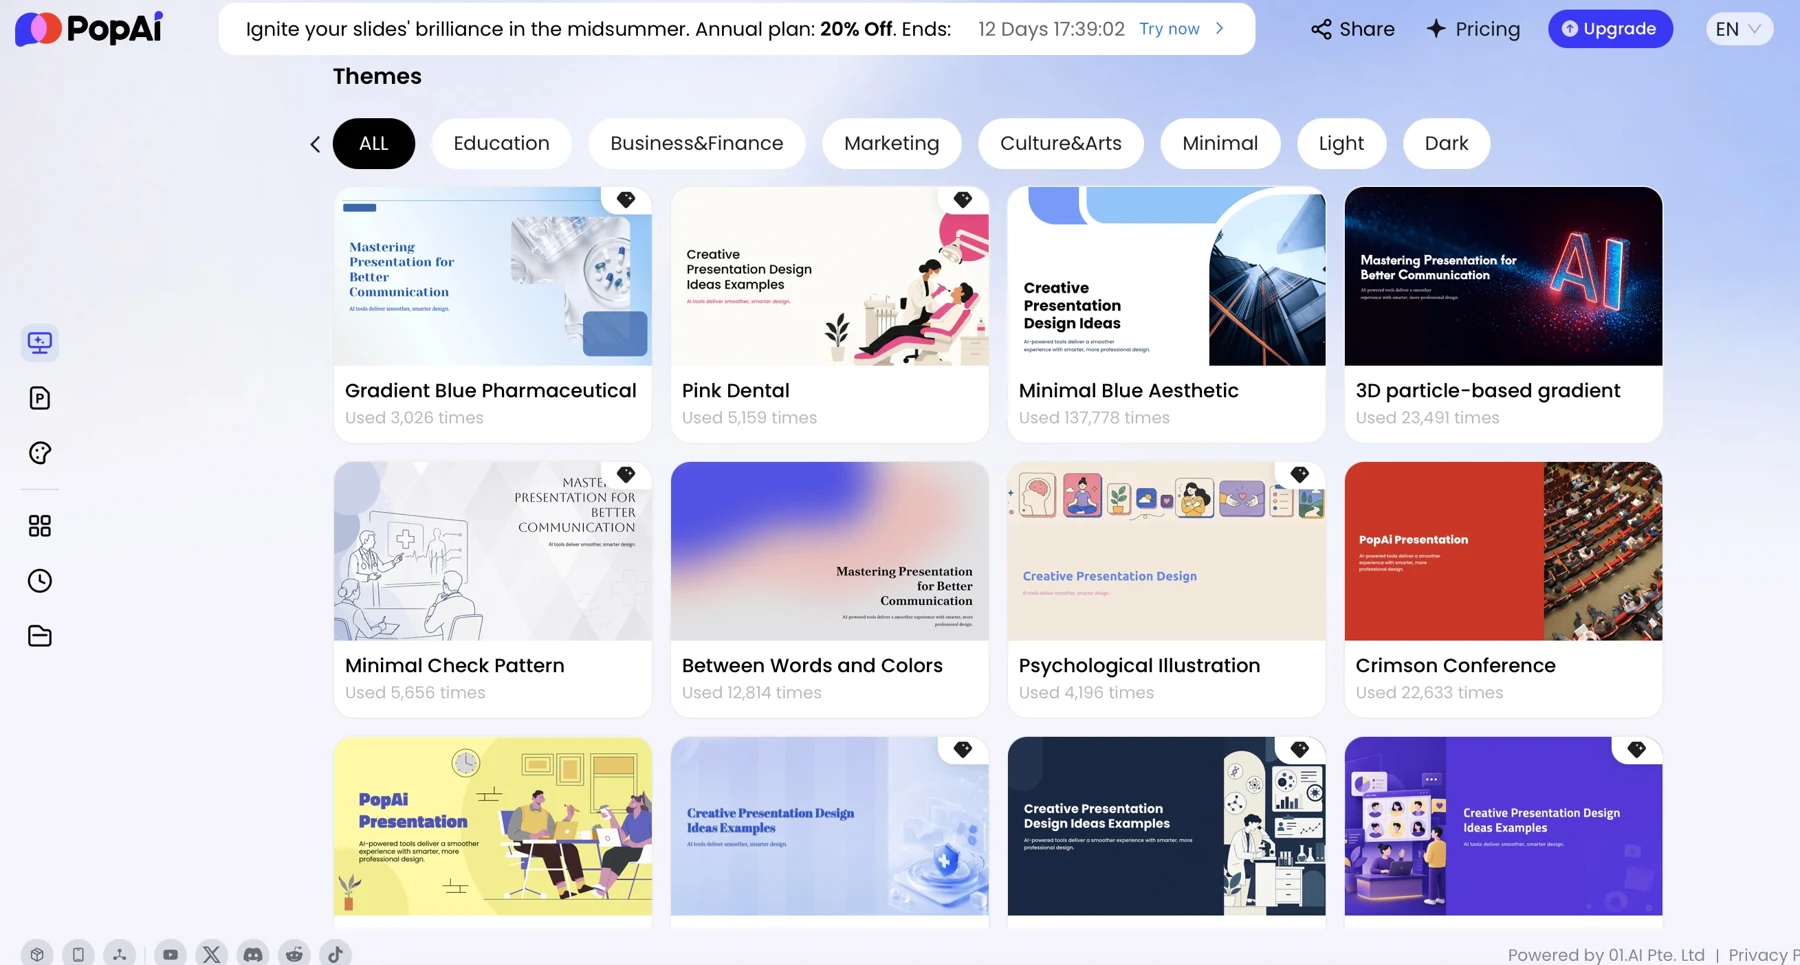
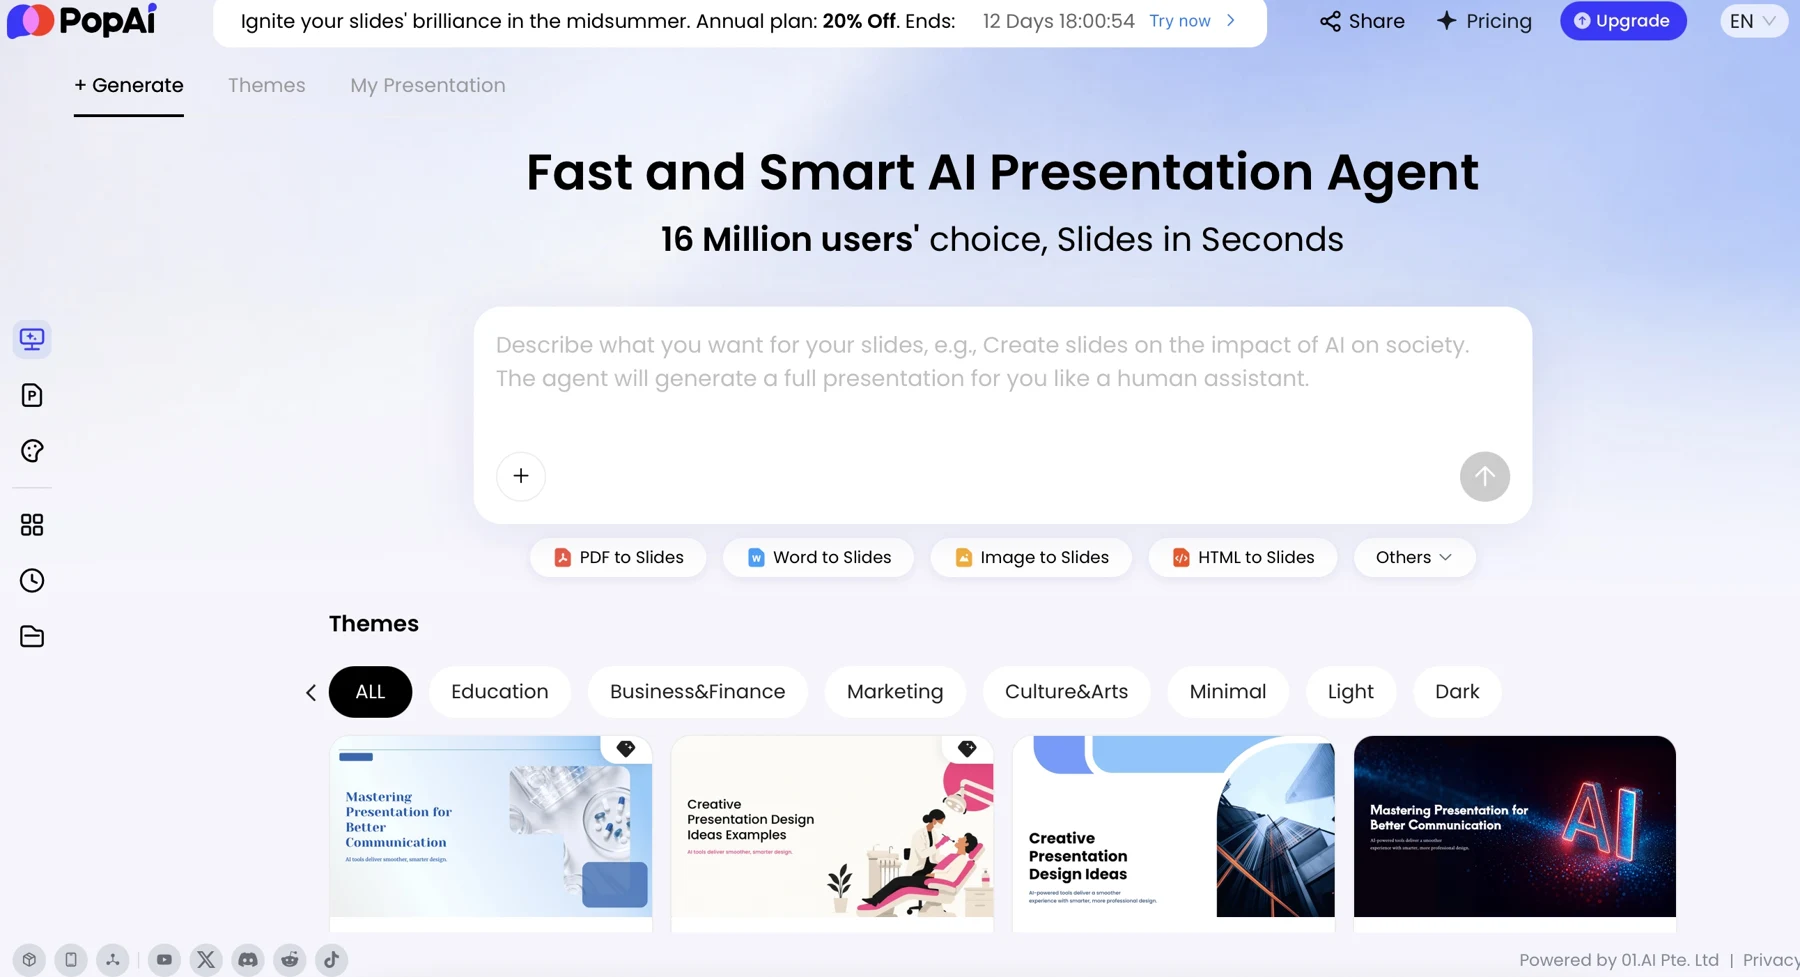
Choose a format your audience can open. PDF is usually convenient for applications and read-only review; PPTX is useful when a recipient expects editable slides or a live presentation. If you share a web link, confirm who can access it and that it does not expose private working files. Export options and behavior vary by product, so check the current product interface and open the actual file in the software or viewer your audience is likely to use. You can use PopAi AI Presentation to build from a prompt or source material, then verify the delivered version independently.
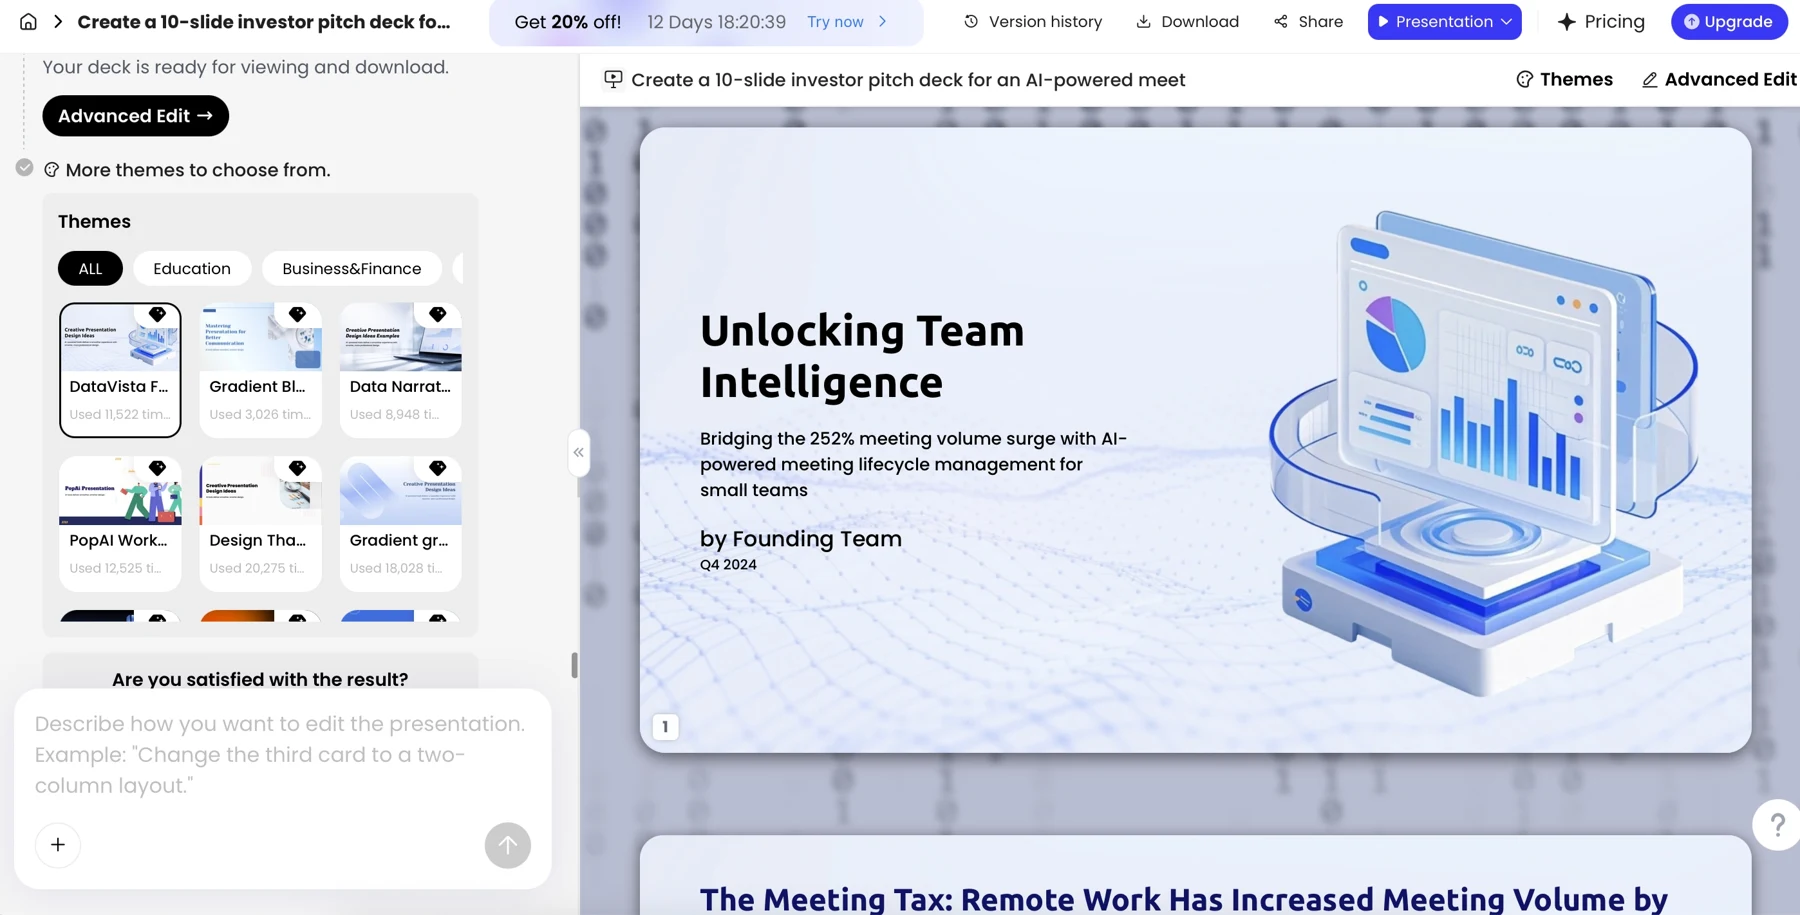
- Open the exported file and inspect fonts, line breaks, image crops, chart labels, and working links.
- Check the deck on another device or viewer; keep an offline copy for a live meeting.
- Confirm shared-link permissions and remove confidential working files or comments.
- Make sure the version name and selected examples match the role or client, while the underlying claims remain accurate.