An AI PPT maker with images is useful when you need a slide deck that combines structure, visuals, and editable presentation content without starting from a blank canvas. The key is to give the tool more than a topic: provide the audience, goal, source material, desired image style, and any real assets such as screenshots, product photos, charts, or brand colors.
This page is not a generic tool roundup. It is a practical tutorial for creating image-led slides: what to prepare, how to prompt, how to control visuals, how to edit the generated deck, and how to fix the common failures that make AI slides look inconsistent or inaccurate. For the broader topic hub, start with the AI for presentations core guide, then move to the PopAi product workflow when you are ready to create.
AI PPT Maker with Images: The Workflow to Follow
The best workflow is outline first, visuals second, editing third. If you ask for a finished deck too early, the tool may choose images that look attractive but do not support your message. Start by telling the AI what the presentation needs to achieve, then guide image generation around each slide's job.
- Prepare the inputs. Gather your topic, audience, slide count, source notes, must-use images, and style direction.
- Generate a visual outline. Ask for slide titles, key messages, and the image type each slide should use.
- Create the first deck. Generate slides with a consistent visual style and clear image instructions.
- Edit images and text together. Replace generic visuals, shorten text, and align each image with the slide's point.
- Export or hand off. Download the deck, share it, or continue editing in your preferred presentation workflow.
1. Choose the Right Scenarios and Input Materials
This type of page should match visual search intent. Users are not only asking for slide text; they want to know how to create slides where the images are relevant, polished, and controllable. Before generating, decide which materials the AI should use and which details should remain manual.
- Topic or brief: the subject, audience, purpose, and slide count.
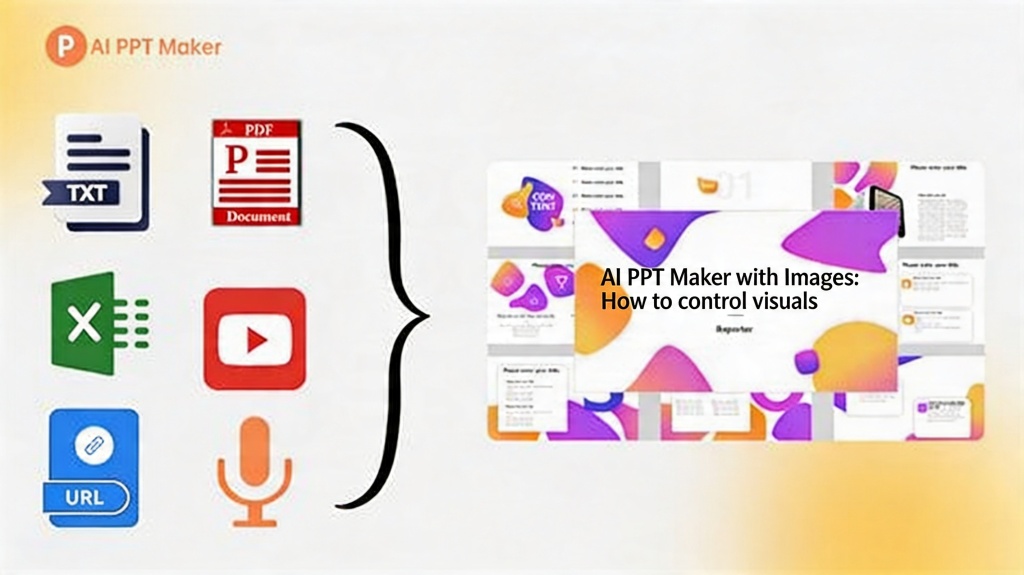
- Source notes: report summaries, class research, meeting notes, campaign ideas, or product descriptions.
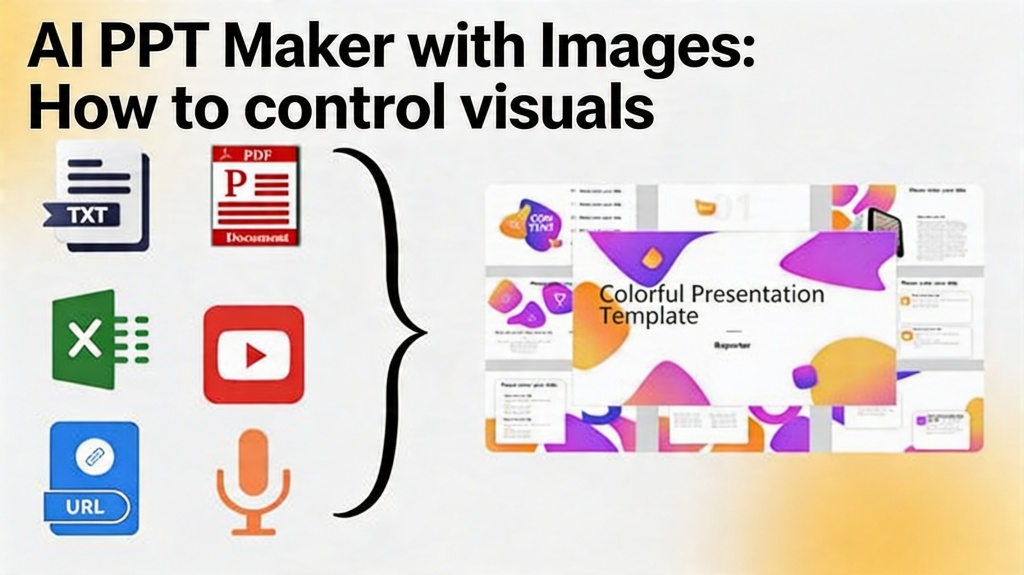
- Visual assets: screenshots, logos, product photos, diagrams, charts, or reference images.
- Style direction: clean SaaS UI, classroom illustration, executive report, product launch, investor pitch, or workshop handout.
- Constraints: brand colors, image ratio, no stock-photo style, no fictional data, or export format.
Scenario: product feature launch
A product marketer can upload app screenshots, add three feature bullets, and request a 7-slide launch deck. The AI can draft the narrative and suggest image placements, while the marketer keeps the screenshots and claims accurate.
Scenario: student research presentation
A student can paste research notes, request simple diagram-style visuals, and ask the tool to create a classroom-friendly deck with one recap slide and one image idea per section.
2. Create the Deck in 5 Clear Steps
A predictable process matters more than the number of AI features. Use the steps below when you need a deck that includes generated visuals, uploaded images, and editable slide content.
Step 1: Write a visual brief
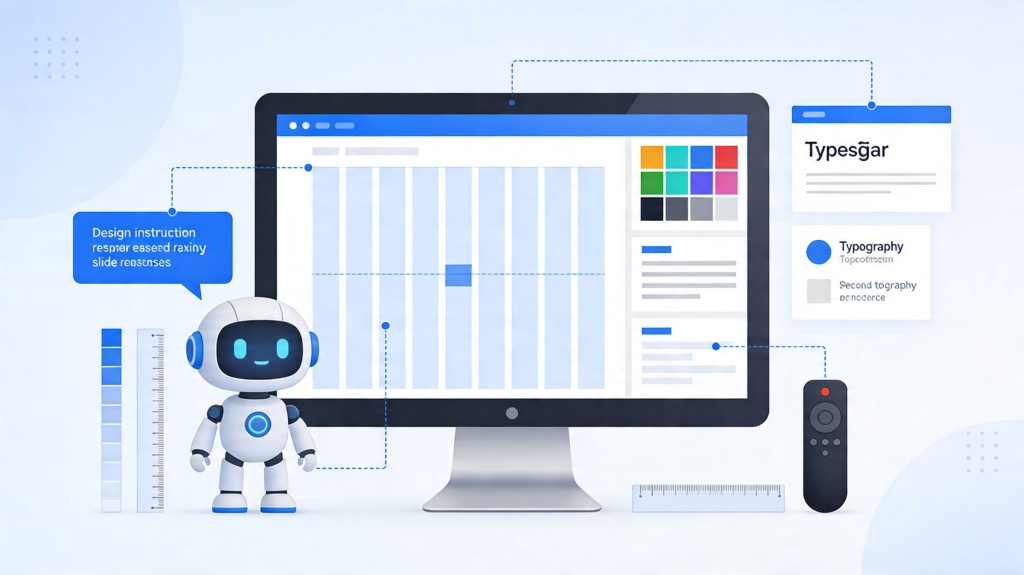
Describe the deck goal and the visual system in the same instruction. For example, specify whether the deck should use product screenshots, flat illustrations, 3D scenes, photo backgrounds, data charts, or simple diagrams.
Step 2: Ask for slide-by-slide image intent
Before generating the deck, ask the AI to list the image purpose for each slide. A good output might say: Slide 2 needs a process diagram, Slide 4 needs a product screenshot with annotations, and Slide 6 needs a simple comparison visual.
Step 3: Generate the first version
Use the approved outline to create the first deck. Keep the initial generation focused on structure and image placement rather than perfect final copy.
Step 4: Replace weak visuals
Remove images that are decorative, generic, inaccurate, or inconsistent with the rest of the deck. Replace them with uploaded assets, regenerated images, or simpler diagrams.
Step 5: Export and review
Export only after checking image rights, readability, slide titles, speaker notes, and whether the visuals still make sense without extra explanation.
3. Copyable Prompts and Input Examples
Prompts should connect each image to a slide purpose. Avoid asking for "beautiful visuals" in isolation. Instead, say what the image must explain, what style it should use, and what it should avoid.
General prompt:
Create a [NUMBER]-slide presentation for [AUDIENCE] about [TOPIC]. Use [STYLE] visuals. For each slide, include a clear slide title, 2-4 concise bullets, speaker notes, and one image direction. Use my uploaded images where they fit better than generated images.
Product screenshot prompt:
Create a product walkthrough deck using these screenshots. Keep the screenshots accurate, add simple annotations, and generate only supporting background visuals. Do not invent UI screens or metrics that are not in the source material.
Education prompt:
Create an 8-slide lesson deck about [TOPIC] for [GRADE LEVEL]. Use simple diagrams and friendly illustrations. Add one real-world example, one recap slide, and one visual explanation for the hardest concept.
4. Edit Images, Captions, Speaker Notes, and Export Settings
After generation, review images and text as one system. If a slide title says "three-step workflow," the image should show three steps or support that idea directly. If the image only adds decoration, replace it.
- Check accuracy: product screenshots, charts, dates, UI labels, and claims must match reality.
- Reduce text: move detailed explanations into speaker notes so the visual has room to breathe.
- Standardize style: use one illustration style, image ratio, color palette, and icon style across the deck.
- Review export needs: choose PPTX for editing, PDF for fixed sharing, or a web link for lightweight review.
If the image-led deck also needs reveals, transitions, or guided process motion, use an AI PowerPoint animations review pass before export so the movement supports the visual story.
5. Common Failure Reasons and How to Fix Them
Most image-led AI decks fail for predictable reasons. The fix is usually better input, stricter image direction, or a manual editing pass.
- Generic visuals: Add audience, industry, image style, and the exact message each visual should support.
- Mixed styles: Repeat the same style phrase in every image prompt, such as "clean flat vector illustration with blue and purple accents."
- Incorrect product details: Upload real screenshots and tell the AI not to invent screens, numbers, or features.
- Too much slide text: Ask the AI to move detail into speaker notes and keep each slide to one key point.
- Weak export quality: Check image resolution and use PPTX or PDF depending on whether the deck still needs editing.
Frequently Asked Questions
What should I prepare before using an AI PPT maker with images?
Prepare the audience, goal, slide count, source notes, must-use image assets, brand colors, and a visual style direction. The more specific the input, the less cleanup the generated deck usually needs.
Can I use my own product photos or screenshots?
Yes. Use your own product photos, screenshots, logos, diagrams, or reference images when the deck must represent a real product, class topic, or business case accurately.
How do I keep AI-generated images consistent across slides?
Use the same style terms, color palette, lighting, aspect ratio, and subject framing in each prompt. Then edit any image that breaks the visual system before exporting.
What should I do if the generated images look generic or inaccurate?
Regenerate with a more specific prompt, add reference images, replace weak visuals with screenshots or charts, and remove unsupported or unrealistic image details.
Create your presentation with one click now
Turn prompts, notes, and visual assets into an editable presentation draft with consistent images, clear slide structure, and room for final review.
Try PopAi Presentation Maker